Showing posts with label basil. Show all posts

Thursday, October 4, 2012

Preserving Culinary Herbs in Salt


Preserving culinary herbs in salt is a great way to have fresh tasting herbs year round.  It is especially a good method for preserving herbs that reach their peak during a hot and humid time of year.  I have very poor luck trying to dry herbs during the warmer months.  I recently harvested all of my French Tarragon at it's peak.  It was simple to save it.  I just loosely packed a clean glass jar full of fresh picked Tarragon and added fine sea salt.  The salt dehydrates while leaving their flavors intact.  When I saw this photo of basil preserved on pinterest, I had to share it.

Do you preserve herbs in salt?  If so which are your favorites?

Tuesday, April 26, 2011

10 Tricks for Growing Basil Indoors


Basil is a marvellous herb, and one which can easily be grown both outdoors and indoors. Basil is a well-known herb, known for its fragrant and tasty leaves which can be used for raw salad, or cooked with tomatoes to make tomato and basil sauce. There are, of course many other uses for the herb, classed as an essential by culinary experts worldwide. To grow basil indoors one should become familiar with these 10 tricks which will have anyone on their way to growing indoor basil within no time.

First ensure that its soil has adequate drainage at the base of the pot. This will allow the roots to develop properly and the plant will benefit from it as the excess water will be able to exit into a dish or saucer.

Second, know the pH level of your soil. Basil grows best in soil which is between 6 and 7.5 on the pH scale.

Place a few seeds in each pot. Sow them thinly, and the plants will have the right amount of space to germinate properly. This should happen around a week after sowing.

Once the plants have grown two proper leaves, you should remove the two weaker plants and leave the strongest in the pot.

Monitor the pH level of your soil every 4-6 weeks, and change it if needed using half-strength organic fertilizer. You should add a small amount of fertilizer every month or so to give the basil the nutrients it needs.

Make sure that the plant pots get enough light from the sun (about 6-8 hours a day). This can easily be achieved by placing the pots on a window sill where the sun will provide the basil with the energy it needs to grow and mature.

Water your basil at the base of the plant – do not shower the leaves and stems.

Water about once a week for the best effects.

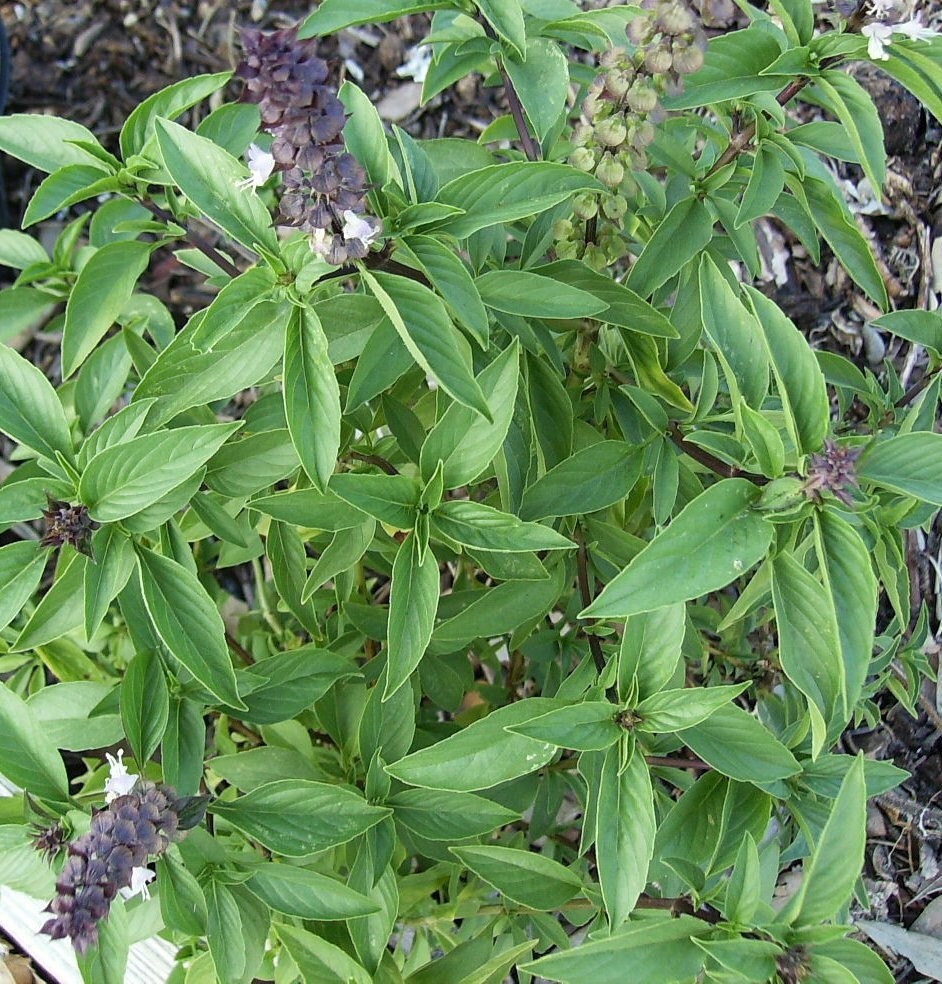
Remove any flowers as they appear, as this will keep the basil’s flavour, and promote its growth even further.

The beauty of basil is that it can be grown all year round. Lastly, do not harvest a complete plant, but to take a few leaves off of each, starting from the top of the plants. That way further basil can be harvested as and when needed.

This guest was provided by Danny Ashton who talks about Growing Basil at his blog.

Tuesday, October 19, 2010

A Fun Garden Treasury and Update About Free Seeds With Purchase From My Shop

My Genovese Basil Seeds were just included in this fun garden treasury on Etsy. Be sure to click to check out your favorite items.

This is good timing, because I need to make an announcement about my Seeds section in my Etsy Shop. I recently changed the way I list the seeds for a couple of reasons. What you will find now is that the seeds are listed for 20 cents each plus shipping. This makes it more fair to Etsy (they get the 20 cent fee) and Etsy seed sellers, and it also prevents people from asking me to spend an hour or so packing every single seed type from my shop with a single soap order. Unfortunately I don't have time to do that. So now I have in my shop announcement that you can request a free seed pack with your purchase. The bottom line is you can still you just can leave a comment at check out to request free seed. That part hasn't changed. Or you can select more one package by simply adding the seeds to your shopping cart. Enjoy.

Speaking of allotments, I will post to the blog soon about my most recent adventures at Maggies Herb Farm in Saint Augustine. I just taught my first post-partum herbal class there this weekend and it was a great success. I am considering to offer the same class here in Daytona if there is demand. It is a Cold and Flu Season Herbal Class.

'Down the allotment' by LifeCovers

So much work to be done in the garden at this time of year getting it ready for winter


$9.99

$30.00

$25.00

$0.20

$14.00

$15.00

$16.00

$28.00

$16.00

$169.00

$30.00

$10.00

$10.00

$15.00

$12.50

$10.00

Generated using Treasury HTML code generator by Whale Shark Websites.

Saturday, October 9, 2010

Tips for Basil Cultivation


I have had some growing questions from Etsy customers about cultivating various plants from my Free Seeds with Purchase section.  So I will do my best to give you all the tips you need for growing successfully as needed, starting here with the Basils.  I have 4 types of Basil in my Etsy shop presently: Thai Basil (pictured above), Holy Basil (Rama & Vana varieties), and Genovese.  The directions apply to all the basils.  I am a Central Florida gardener so I planting times I will leave out, except to say that I am lucky enough to grow it year round here (I just cover the plants with a sheet when a freeze is coming).  If you live in a more temperate area, then wait until after the last frost to plant outside.  

The first step for growing basil is a rich soil and a large pot.  For seeds that I haven't grown before I like to start them in large plastic or glazed ceramic pots.  Orange clay pots are too drying for basil in general and other seedlings.  I fill the pots with homemade or store bought organic potting soil or top soil.  Fill the pots to the top with this soil.  The next step is optional, but sometimes I like to soak my seeds in water before planting; rain or well water is best.  If you want to soak your basil seed just a few hours is sufficient.  I sprinkle the basil seeds evenly over a container and then gently shake a handful of soil just barely covering the seed.  Put the pot in full or partial sun and keep watered daily.  You can put a catch pan of water underneath the pot to keep the soil moist.  When the plants start to come up you may want to thin them in case some of them come up right next to each other.  Next the plants will start getting tall and leafy.  When there are about six leaves I pinch off the top two leaves so they can bush out.  From this point on you will be in harvesting mode for a while.  If they over grow their pot you may have to divide them and put them into the ground or more pots.  Keep collecting the nice fresh big leaves and flowers to use.  You will want to keep the plants well watered during this time.  You can add small amounts of coffee grounds or composted manure at the edge of the pot during this time too (once or twice during the harvesting period).  The harvesting period can go on for months depending on your growing zone, and you can continue to pinch them back to encourage growth and bushiness.  It is very important that you keep picking off the flowers during the harvesting phase.  Once the flowers go to seed then the plant dies back.  Eventually though the plants will start to get more woody rather than tender stems, and the leaves will become smaller and smaller.  At this stage, I let the plants flower and go to seed.   Snip off the long stalk when the seed pods turn completely brown.  Rub the pods gently to get the seeds out.  Put the seeds in envelopes to save them with the date and store them in a dry place for next year.  

Good luck with your basil plants!

Wednesday, July 14, 2010

Holy Basil Collection


I've been growing Vana Tulsi, also known as Holy Basil, for a number of years now here in Daytona Beach.  It self-sows in the garden and it very well adapted.  I thought I had lost it this year after the hard freezes, but even after the first new basils came up and froze to death, there were more to follow later on that survived.  The new leaves are very tender and have an anise like flavor.  I love to pick them an eat them fresh.  When I have excess I make Holy Basil honey or Tincture with it.  Vana Tulsi is also known as wild Holy Basil, or the species Ocimum gratissimum.


I'm really excited to have the other varies of Holy Basil growing, above is Ocimum sanctum also known as Rama Tulsi.  And below is the purple variety of Ocimum sactum known as Krishna Tulsi.  I haven't really even tasted these new babies yet.  I just want to collect the seed from them so that I will have better adapted plants for the next generation.  These two sets of mother plants do no grow as vigorously as my Vana Tulsi, which is probably around 4th generation at this point if not older. 


Are you growing Holy Basil? What type? Do you have a favorite? I would love to know. Please leave your comments.


Bookmark and Share